Before installing new shingles, a detailed pre-installation roofing inspection is necessary to ensure the roof's longevity and safety. This inspection should scrutinize all existing roof components, including decking, underlayment, flashing points, gutters, and the condition of current shingles. It's crucial to identify any issues and evaluate their impact on the performance and lifespan of the new roof. Contractors must look for signs of deterioration or water damage and address these promptly to prevent future complications. Advanced technologies like drones or infrared scanning can be employed to detect hidden defects that might otherwise go unnoticed. Compliance with local building codes and manufacturer guidelines, along with proper attic ventilation, is essential for both safety and maintaining the roof's warranty. The installation process involves stripping off old shingles and underlayment, applying a new underlayment as a moisture barrier, and carefully laying new shingles in overlapping rows, ensuring they are securely fastened. Flashings and counter-flashing must be installed accurately to prevent leaks. A post-installation inspection is crucial to verify the roof's aesthetic appeal and functionality, confirming that it adheres to safety standards and meets performance expectations. This comprehensive approach to roofing inspections and installation underpins the delivery of a durable and weather-resistant roof, contributing significantly to the overall integrity of the home structure.
Navigating the complexities of residential shingle installation requires a blend of precision, expertise, and adherence to best practices. This comprehensive guide is meticulously crafted for contractors, providing an in-depth exploration of asphalt shingle types, installation techniques, and the critical role of roofing inspection in achieving optimal performance and compliance with regulations. From the initial pre-installation inspection to understanding the importance of proper ventilation, this article covers all facets of the process. Contractors will gain valuable insights into selecting the right tools and materials, ensuring safety and surface preparation, and mastering advanced flashing and nailing techniques. Additionally, we delve into gutter considerations post-installation, warranty advice for long-lasting shingles, and case studies that address common issues. For those aiming to elevate their craft, the guide concludes with information on continuing education, including training and certifications that underscore a contractor’s commitment to excellence in roofing systems.
- Best Practices for Pre-Installation Roofing Inspection
- Step-by-Step Guide to Shingle Installation Techniques
Best Practices for Pre-Installation Roofing Inspection

Prior to initiating any shingle installation, a comprehensive pre-installation roofing inspection is pivotal for ensuring both the longevity and integrity of the roof system. This meticulous evaluation should encompass an assessment of the existing roof structure, identification of any underlying issues, and an estimation of the condition and lifespan of the current shingles. Contractors must inspect the decking, underlayment, flashing points, and gutters to ascertain their stability and functionality. Any signs of deterioration, rot, or water damage should be promptly addressed to prevent future complications. Additionally, evaluating the current shingles for wear and tear is essential; this includes checking for cupping, cracking, or granule loss, which can affect the performance and visual appeal of the new roofing system. Utilizing high-resolution imagery from drones or the latest infrared technology can enhance the precision of these inspections, revealing irregularities not visible to the naked eye. By adhering to these best practices for pre-installation roofing inspection, contractors can significantly reduce the risk of unforeseen complications during and after the shingle installation process, ensuring a superior end product for their clients. Contractors should also consider local building codes and manufacturer specifications when performing these inspections, as compliance is key to maintaining safety and warranty validity. With careful preparation and attention to detail in the pre-installation phase, a robust and weather-resistant roof can be achieved, contributing to a durable and secure home environment for years to come.
Step-by-Step Guide to Shingle Installation Techniques

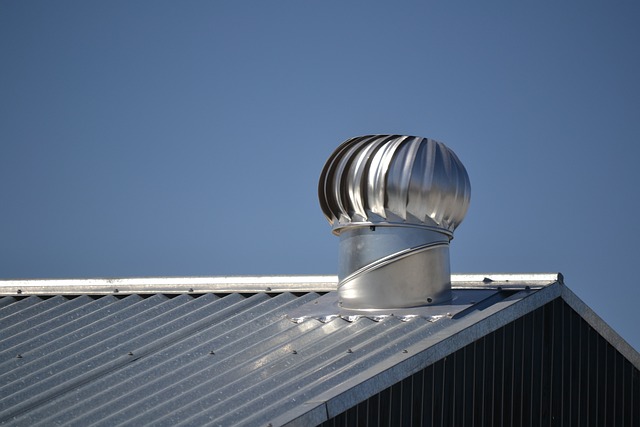
A successful residential shingle installation requires meticulous attention to detail and adherence to best practices in the roofing industry. The process begins with a thorough inspection of the existing roof structure. This critical step ensures that any damaged, worn, or compromised areas are identified and addressed before new shingles are installed. During the inspection, contractors must check for proper ventilation in the attic space to maintain the efficiency and lifespan of the new roofing system.
Once the preliminary inspection is complete, the installation can proceed. The first phase involves tearing off the old shingles and any underlayment that is no longer secure or effective. This provides a clean slate for the new materials to be laid properly. Next, contractors must apply a fresh layer of underlayment, starting from the bottom edge of the roof and moving upward. This underlayment serves as an additional moisture barrier beneath the shingles. Following this, the shingles themselves are carefully placed, beginning from the bottom edge and working their way up, overlapping each successive row to shed water efficiently. Each shingle is secured with roofing nails driven through pre-spaced holes at a 45-degree angle, ensuring proper alignment and resistance to uplift forces. Throughout the installation process, it is crucial to follow the manufacturer’s specifications for shingle application, including the recommended number of fasteners per shingle and the type of adhesive or sealant used at critical junctures such as around chimneys, vents, and valleys. Proper flashing and counter-flashing techniques are essential to prevent leaks at these vulnerable points. After all shingles are installed, a final inspection is conducted to ensure that the roof is both aesthetically pleasing and functionally sound, ready to protect the home for years to come. Roofing inspection at each stage of this process guarantees compliance with safety standards and performance expectations.
Contractors play a pivotal role in ensuring the integrity and longevity of residential roofs through meticulous shingle installation. This guide has outlined the essential best practices for pre-installation roofing inspections, providing a solid foundation for successful projects. Moreover, the detailed step-by-step shingle installation techniques offered aim to elevate professional standards in the field. By adhering to these protocols, contractors can deliver high-quality workmanship that stands the test of time and weather. It’s imperative that roofers familiarize themselves with these guidelines to uphold safety and performance excellence in residential shingle projects. With the right preparation and techniques in hand, contractors are equipped to tackle each installation confidently and effectively.