Embarking on a tile installation project for your home or business? It’s crucial to approach this task with precision and care. This article offers three pivotal tips, tailored for ensuring your new tiles not only enhance the aesthetics but also provide long-lasting performance. We delve into the necessity of a comprehensive roofing inspection before tiling, to safeguard against unseen damage that could compromise the integrity of your installation. Additionally, we explore vital considerations for tile placement and the correct techniques to employ. Furthermore, selecting tiles suited to your region’s climate and the specifics of your roof structure is highlighted as a key step to maintain functionality and longevity. Lastly, proper ventilation and waterproofing measures during installation are emphasized to prevent future leaks and structural issues. With these expert insights, your tile installation will be a resounding success.
- Understanding the Importance of a Thorough Roofing Inspection Before Tile Installation
- Key Considerations for Effective Tile Placement and Installation Techniques
- Choosing the Right Tiles for Your Region's Climate and Roof Structure
- Ensuring Proper Ventilation and Waterproofing During Tile Installation
Understanding the Importance of a Thorough Roofing Inspection Before Tile Installation

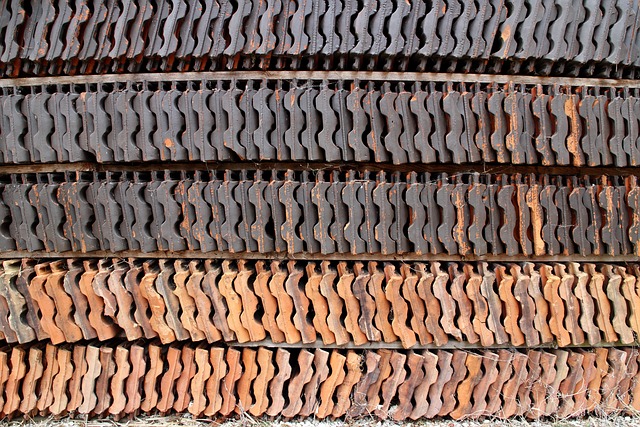
Key Considerations for Effective Tile Placement and Installation Techniques

When embarking on a tile installation project, whether it’s for your home’s floors, walls, or even a roofing system, careful consideration of placement and adherence to effective installation techniques is paramount. To achieve a durable and aesthetically pleasing result, the substrate must be properly prepared. This involves a thorough inspection and cleaning to ensure a secure bond. The choice of adhesive and grout is also critical; select products that are suitable for the specific tile material and the area of application. For instance, areas subject to high moisture, like bathrooms or roof decks, require water-resistant options.
Furthermore, precise measurement and layout planning are essential. Begin by marking out the installation area to determine the pattern and ensure tiles are evenly spaced and centered. Pay close attention to cutting tiles to fit around edges and obstacles. The use of a straightedge and tile cutter is recommended for clean, precise cuts. When installing on roofing surfaces, it’s particularly important to conduct a comprehensive roofing inspection beforehand to account for slope, ventilation, and structural integrity. This step not only ensures the longevity of the tiles but also the safety of the installation team. Proper spacing between tiles is another key factor; this allows for thermal expansion and prevents cracking. Lastly, curing time must be observed to ensure the adhesive and grout set correctly. Adhering to these installation techniques will result in a flawless tile finish that can withstand the test of time.
Choosing the Right Tiles for Your Region's Climate and Roof Structure
Ensuring Proper Ventilation and Waterproofing During Tile Installation